Best Roof Upgrades for Homes in Wildfire Zones
When you picture a wildfire, you likely imagine a wall of flames. For most homes, however, the real danger comes from above. A distant fire can launch a storm of burning embers, and these tiny sparks are the primary threat. Research from the Insurance Institute for Business & Home Safety (IBHS) confirms that airborne embers ignite up to 90% of homes lost in wildfires.
Your roof is the single biggest target in this attack, acting as a giant catcher’s mitt for these wind-blown torches. Its vulnerability makes it the most critical element of home hardening, but you have significant control over how well it performs. This guide will show you how to turn your roof into a shield.
What is a ‘Class A’ Fire Rating and Why Does Your Roof Need It?
Not all roofs handle fire the same way. Roofing materials are tested and given a fire rating that indicates how well they resist ignition from embers and flames. For homes in at-risk areas, this is the most critical factor in a roofing choice.
The rating system has three main tiers:
- Class A: The highest rating. These materials withstand severe fire exposure and prevent fire from penetrating the roof deck.
- Class B: Offers protection against moderate fire exposure.
- Class C: Only protects against light fire exposure.
For any home in a wildfire zone, Class A fire-resistant roofing is the only acceptable choice. Materials like untreated wood shakes are often unrated and should be avoided. A Class A roof is non-negotiable for safety and often required for insurance. Leading organizations like the IBHS require it for their “Wildfire Prepared Home” designation. When hiring a contractor, always ask for the manufacturer’s documentation proving the product is Class A rated.
Comparing Your Top 3 Fire-Resistant Roofing Choices
Knowing you need a Class A roof is the first step. Your main choices will likely be composite shingles, metal, or tile, each offering a different balance of cost and performance.
The most common and affordable option is a Class A-rated composite or asphalt shingle. While these modern shingles meet essential fire-resistance standards, their granular surface can still give embers a place to lodge. They are combustible, but slow to ignite, making them a good, budget-friendly baseline.
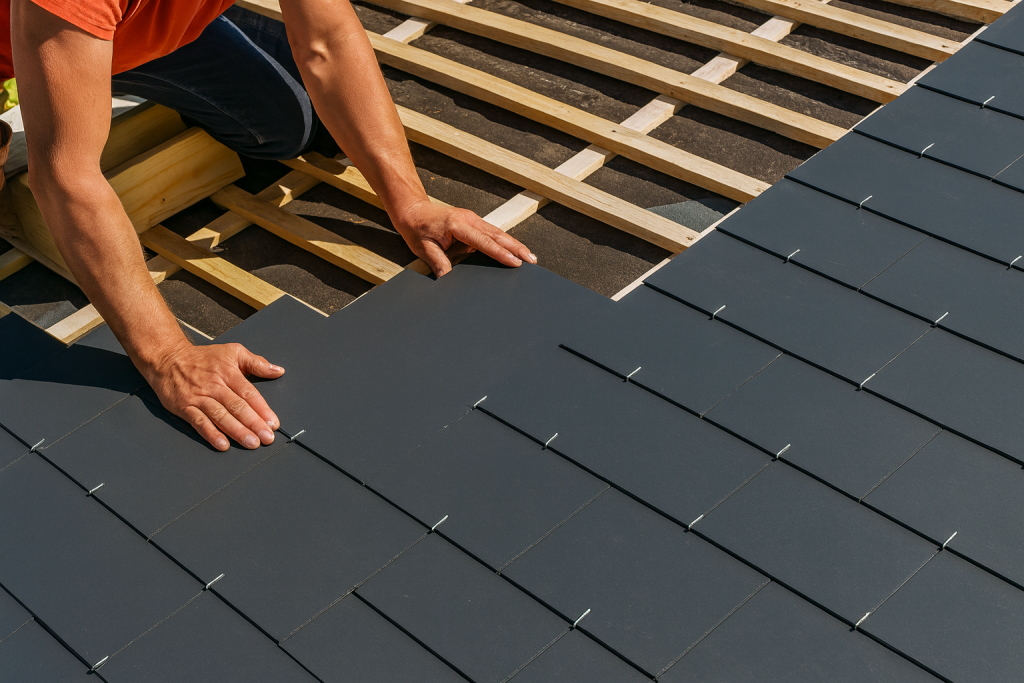
For a significant upgrade, consider a standing-seam metal roof. Metal is non-combustible, but its primary advantage is its smooth, interlocking surface that sheds embers. Glowing embers have no nooks or crannies to get stuck in and simply slide off. This ember-shedding ability is a critical advantage over composite shingles.
Finally, clay, slate, and concrete tile offer the highest level of protection. Their tile roofing fire resistance is absolute; they are completely non-combustible. Though they are the heaviest and often most expensive option, they provide unmatched durability. Both metal and tile roofs often last two to three times longer than asphalt, making them a wise long-term investment.
The Hidden Weak Points: Hardening Your Roof Vents and Gutters
Even with a Class A roof, your home has vulnerabilities. Attic vents, designed to let hot air out, can become open doorways that suck dangerous embers directly into your attic. Once inside, they can ignite insulation and wooden trusses, starting a fire from within.
A straightforward fix is to “harden” your vents by covering the openings with 1/8-inch metal mesh. This hardware cloth is fine enough to block sparks while allowing airflow. For a more permanent solution, consider professionally installed ember-resistant vent installation.
Gutters are another critical weak point. A gutter filled with dry leaves and pine needles is essentially a trough of kindling waiting for a spark. An ember landing here can ignite a fire that spreads to the roof’s edge. The most effective defense is the simplest: keep your gutters clean. Regular cleaning, especially before fire season, is an essential, no-cost safety upgrade.
Beyond Shingles: Why Your Roof’s ‘Under-Armor’ Matters
A fire-resistant roof is a complete system. If extreme heat or debris compromises your top covering, the layers beneath provide a second line of defense.
Directly under your shingles is the underlayment. While its primary job is waterproofing, special fire-retardant roofing underlayments add a crucial secondary shield. This layer resists ignition and protects the flammable wood structure below, buying valuable time during an ember storm.
The final layer is the roof deck itself—the sheathing your roof is built on. Since standard decking is wood, WUI building codes for roofing in high-risk areas often require non-combustible roof decking. This creates a final backstop, ensuring that if embers get past the first two layers, they hit a dead end.
Your Wildfire Roof Safety Checklist
Protecting your home from wildfire starts with turning awareness into action. The roof is your home’s most powerful shield against embers, and taking the right steps can transform its biggest vulnerability into its strongest defense. Use this checklist to get started.
Wildfire Roof Safety Checklist
- This Weekend (DIY Tasks):
- Clean all leaves and pine needles from your roof valleys and gutters.
- Inspect all roof and attic vents. Cover any openings larger than 1/8-inch with metal mesh.
- This Week (When Calling a Pro):
- Ask potential contractors: “Do you install roofing systems to IBHS Fortified Home standards?”
- Request documentation: “Can you show me the Class A fire rating for the materials you recommend?”
Each step, from cleaning a gutter to asking a contractor the right questions, makes your home significantly safer.